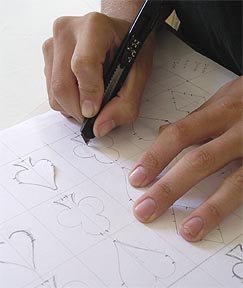
Students practiced cutting and folding pre-printed designs and then brainstormed to come up with designs of their own. Most students developed some sort of stencil or template in order to keep their motifs consistent.


Once they had all of their designs transferred to the paper, they carefully began cutting designated lines with a razor-knife.
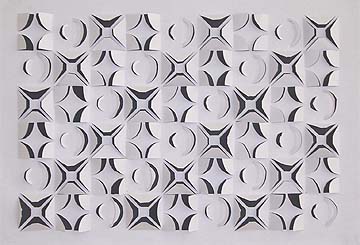
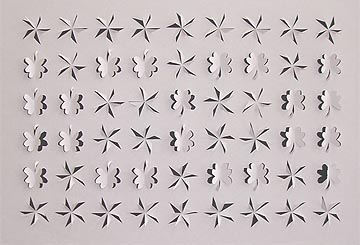
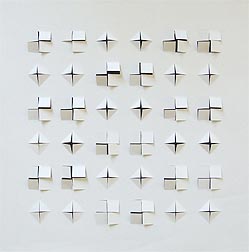
After cutting all of the designs, they turned the paper over (per the instructions--great idea!) to avoid having to erase their guide lines. In most cases, the designs were "opened" to about a 45-degree angle.
As a final step, the paper was mounted on a sheet of black railroad board and displayed where the light would create interesting value patterns due to the cut and folded paper.


Fall 2006


Fall 2005